BrandView
This story is sponsored by KSL Classifieds. Learn more about KSL Classifieds.
A million thanks to Find it, Make it, Love it for providing this article. Are you an avid DIY’er yourself? Make sure to participate in our KSL Classifieds Flip contest for a chance to win $500! Simply find a household item on Classifieds, repaint/refinish/rewhatever it until appointed to your taste and submit your entry. Find more details here.
On the lookout for some kitchen makeover ideas? You’re in the right place! We have a great one that will make your kitchen feel brand new without costing an arm and a leg.
I think we've all heard how paint is one of the quickest and least expensive ways to make a big home improvement splash, and this applies as well as anywhere in the kitchen. With a little time and hard work, you can get that updated kitchen you’ve been longing for and keep your retirement fund.
We’re not professionals — which means if we can do it, you can do it! — but we're happy to share how we did our kitchen makeover and what we used to get beautiful results. Of course, we recommend doing plenty of your own research based on your kitchen and your desired results. Keeping that in mind, let's get to our tutorial for transforming honey oak cabinets into bright white ones!
Here's what you need:
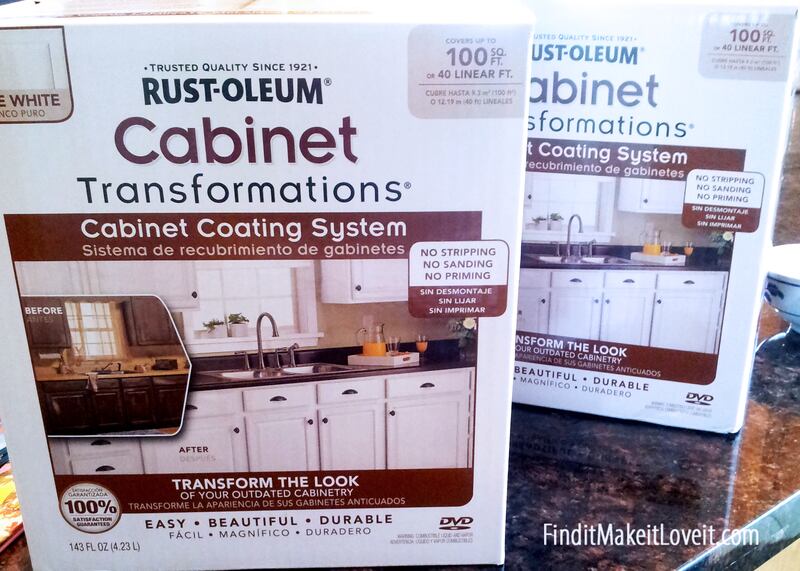
Rust-Oleum Cabinet Transformations kit
- Good paint brush
- Painter’s tape
- Washcloths
- De-greasing cleaner
We also recommend:
- Toothpicks
- Knee pads
- Rubber or latex gloves
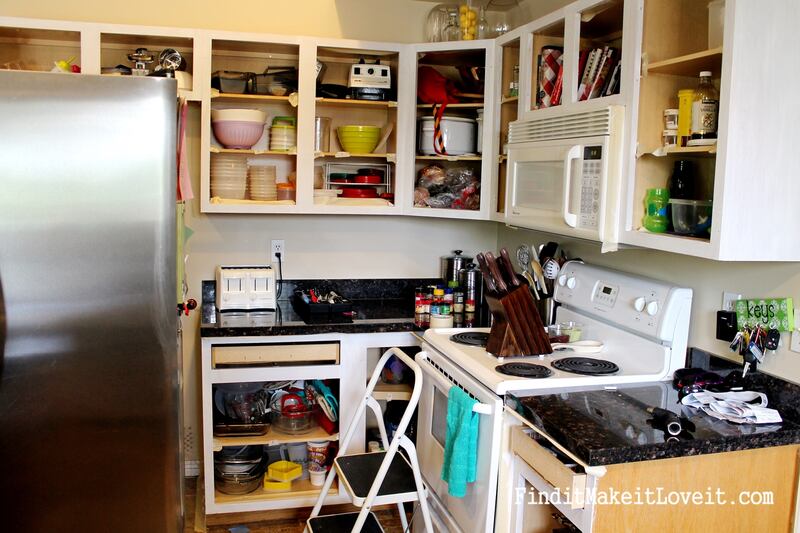
1. Clean the cabinets
As with any painting project, you need to start with a clean surface to get the best results. So before doing anything else, scrub all the cabinets with a good de-greasing cleaner. Pay special attention to the cabinets around the stove; lots of gunk gets built up over time around cooking surfaces. Use toothpicks to help clean in all the corners.
2. Remove Cabinet Doors and Hinges
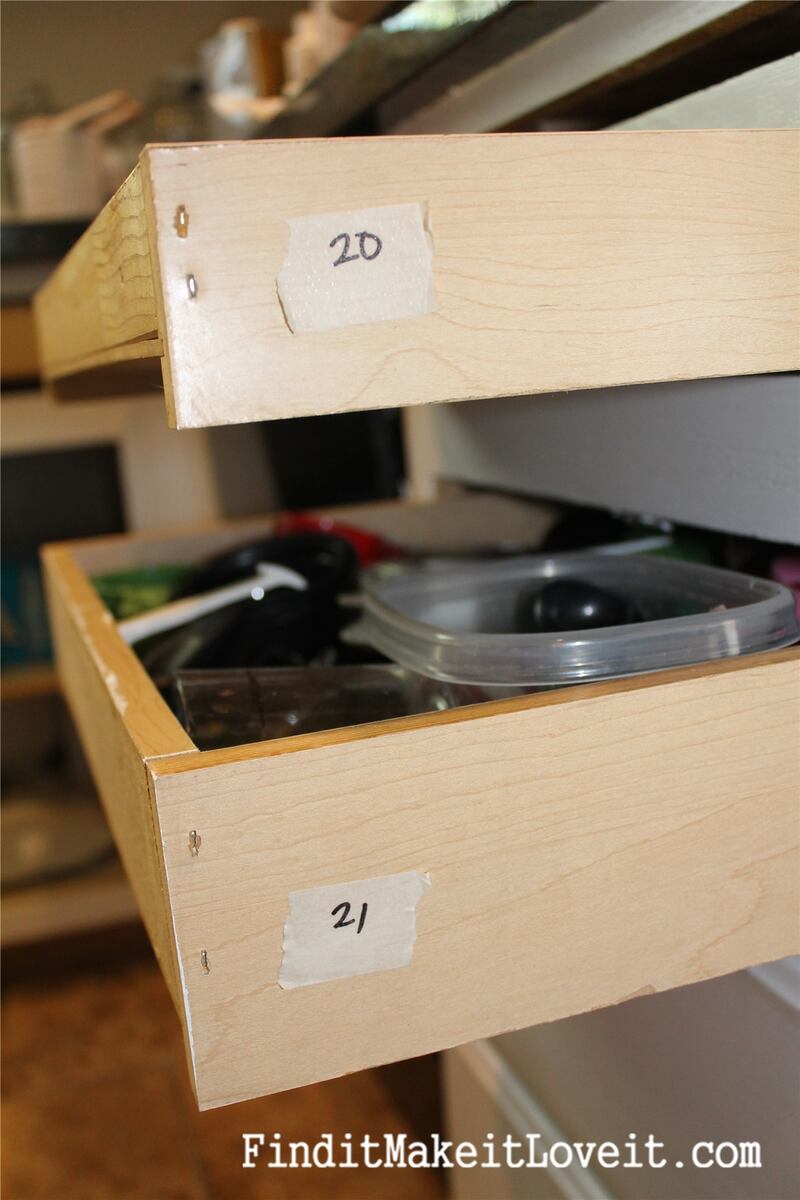
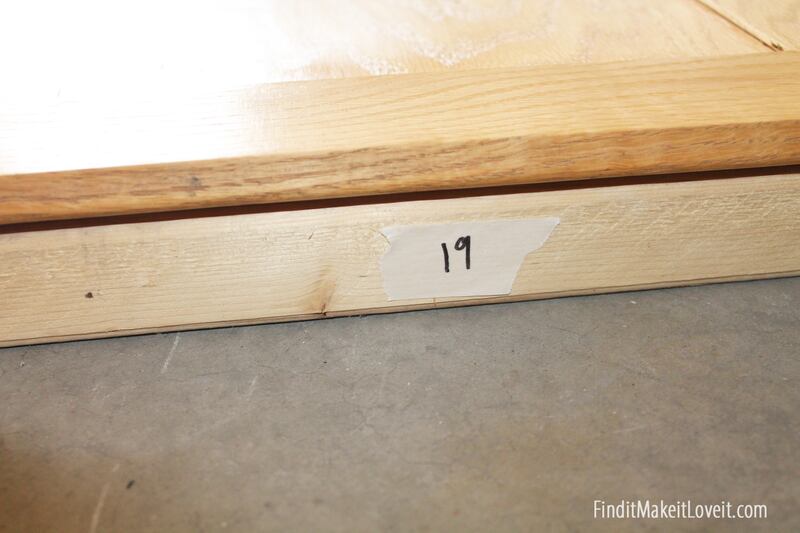
Now that the cabinets are clean, remove all the doors and hinges. This includes the drawer fronts as well. A drill is the quickest way to do this, although a screwdriver and some elbow grease would work too. Before you start taking things off, be sure to number the doors and the corresponding cabinet or drawer. This is a lifesaver when it’s time to reassemble!
We used masking tape to mark each door, drawer and cabinet.
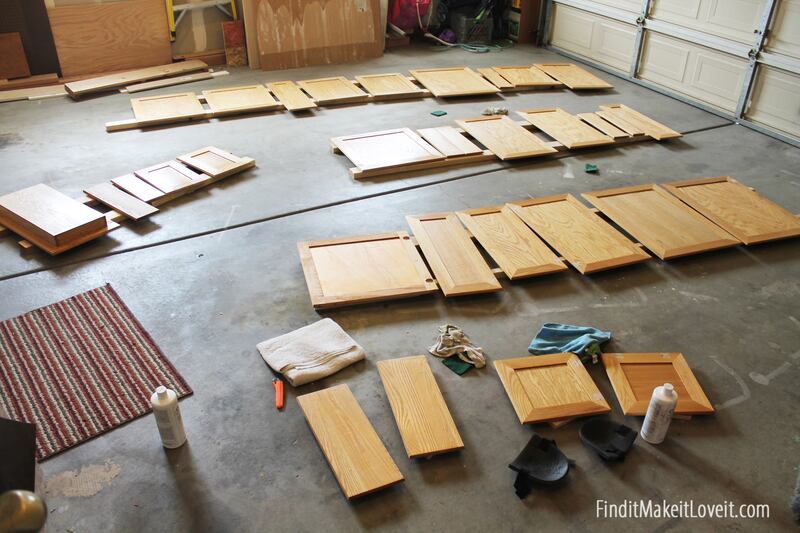
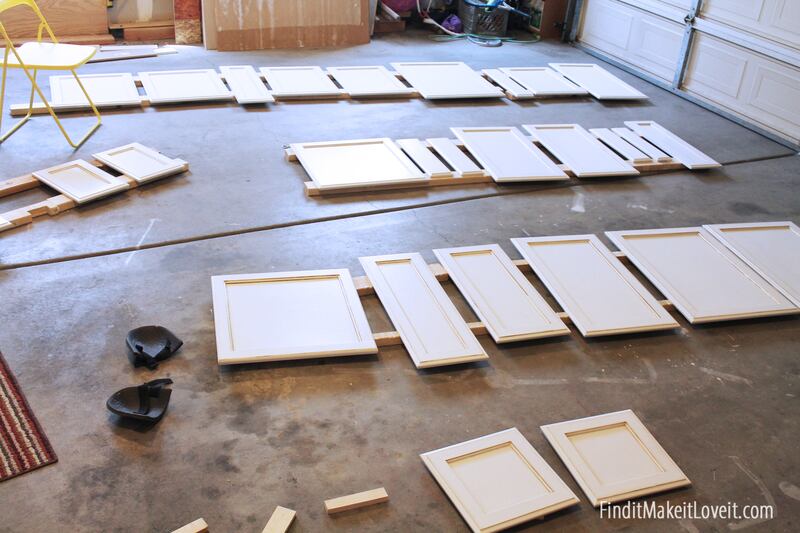
When setting up for painting, the cabinet doors should be raised off the ground so you can get around all the sides easily. We laid ours on 2 x 4's and scrap wood in our garage. Tape each cabinet’s number to the wood under it.
3. Paint Prep (AKA De-glosser)
First, use the de-glosser. This step is in place of sanding, and avoiding sanding is awesome! So much time saved, so much dust avoided. Scrub the cabinets pretty rigorously with a heavy-duty scour pad. We definitely recommend wearing rubber or latex gloves and kneepads for scrubbing.
Be sure to scrub all surfaces: front, back, sides, and in all the bevels. This is a time-consuming step, but it’s where you lay the groundwork for beautiful results! Like we said, you spend some time and energy on this transformation, but not a lot of money.
4. Painting
Okay, after the de-glossing comes the exciting part: It’s time to start painting! First comes the base coat. Use painter's tape as needed on the cabinet bases. Paint two coats, allowing each coat to dry for 2–4 hours.
Now for the cabinet doors. Start with the backs or inside of the doors. That way any scuffs or scratches that may happen when it's time to flip them over will be on the inside of the doors instead of the front. Paint two coats of the base coat, again allowing each coat to dry for 2–4 hours. Here's a look at the back of the doors all painted:
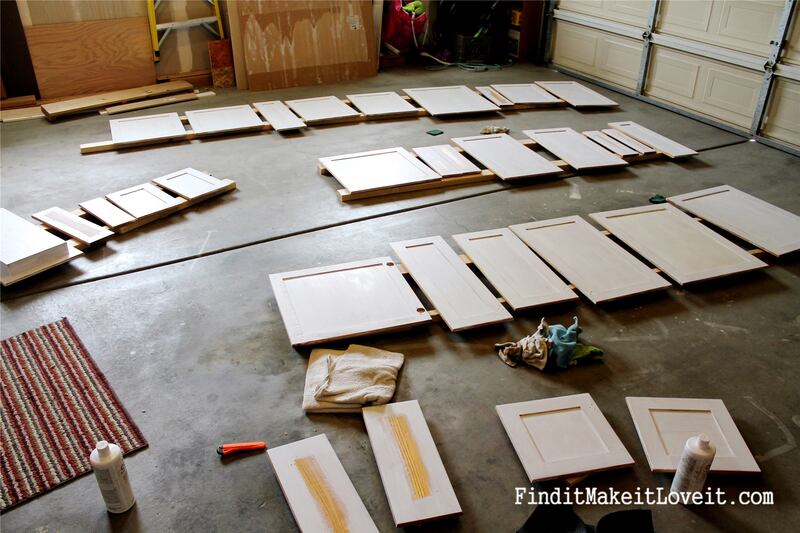
Turn them over and paint the fronts just like the backs: two coats, 2–4 hours dry time per coat. Here are the fronts of the cabinets all painted:
5. To Glaze Or Not to Glaze?
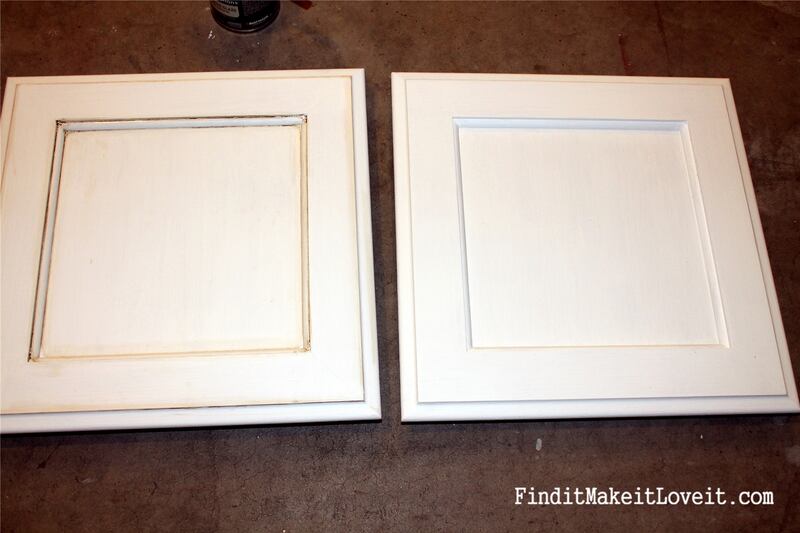
Applying a glaze is optional. It can be used on the entire cabinet surface, or not at all. We actually opted to use the glaze in just the bevels of each door. The door on the left is glazed; the door on the right is unglazed.
6. Top Coat:
The final step is the protective top coat. Paint the front and backs of each door and the cabinet bases with the top coat. Be sure to follow the instructions for dry times. (This step requires the most patience because you’ll be so excited to see the finished product.) Once everything is completely dry, start reattaching! It will be the best day of your life. (Or maybe top 10.) It's a big project. Is it worth it? YES!
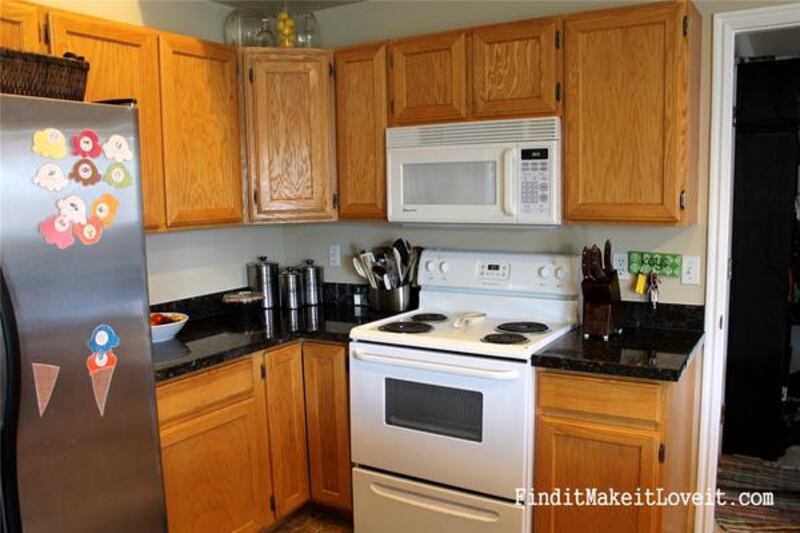
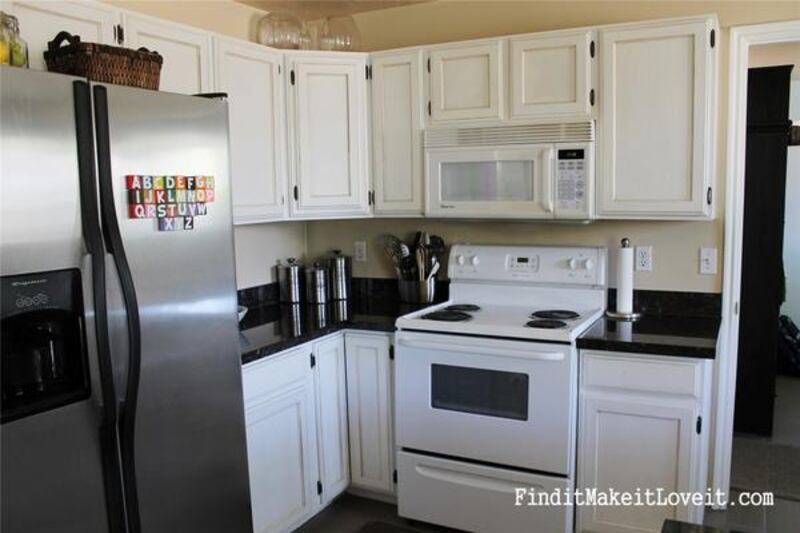
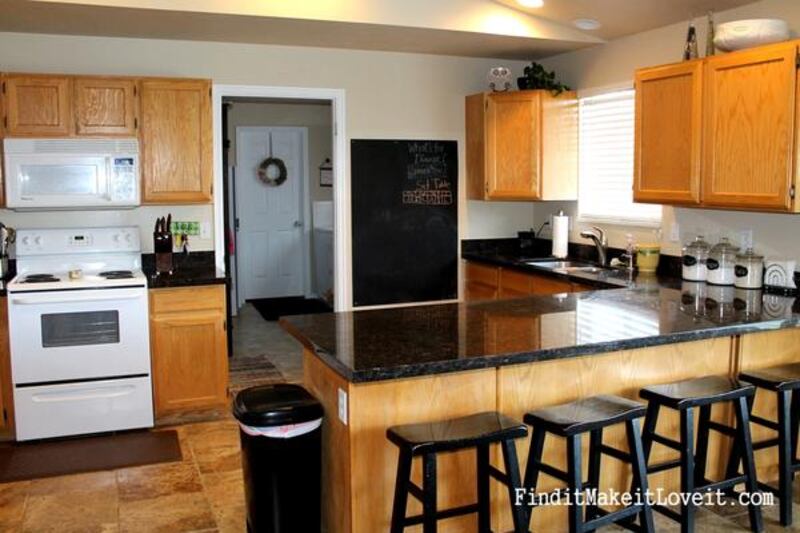
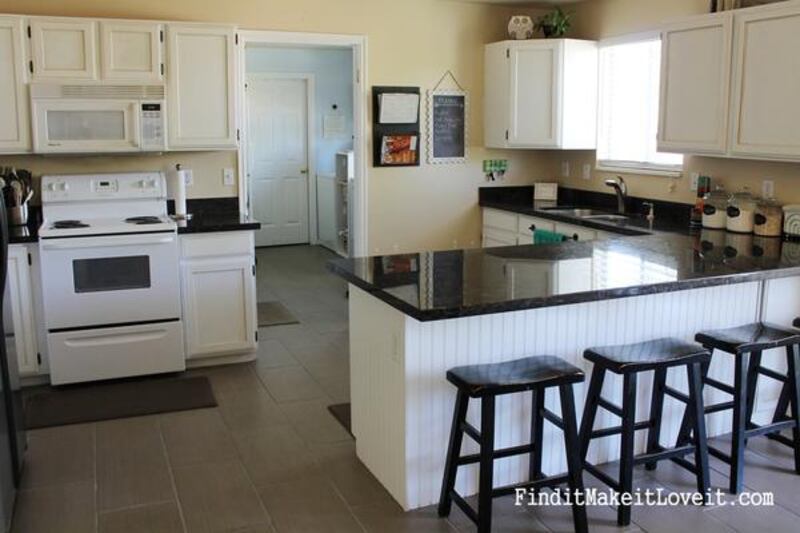
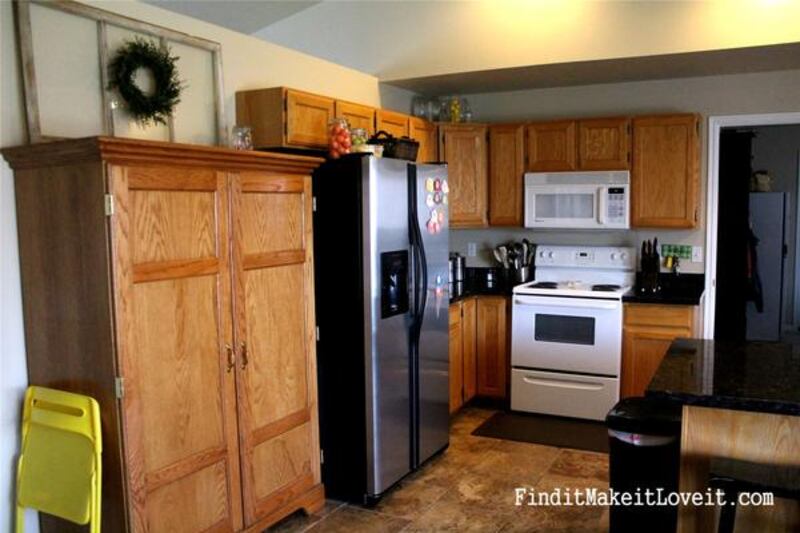
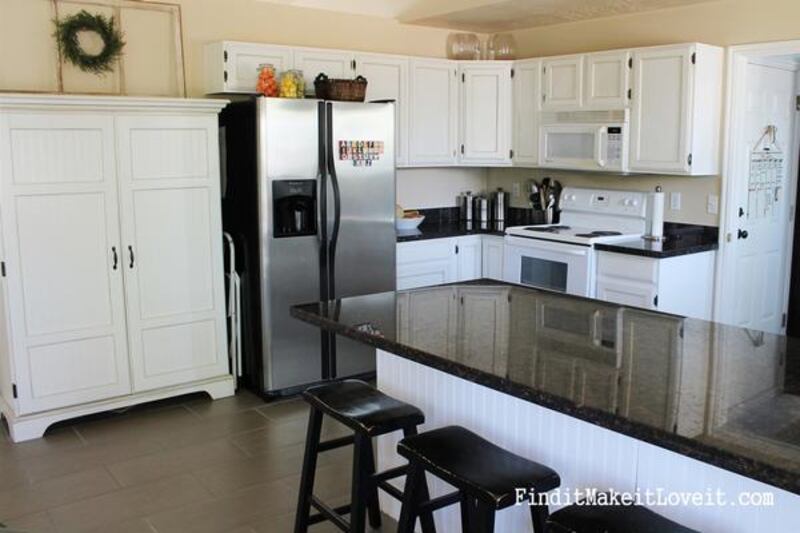
A beautiful kitchen update without breaking the bank!
Follow KSL Classifieds on Facebook for more easy and affordable DIY tutorials.
BEFORE and AFTER photos